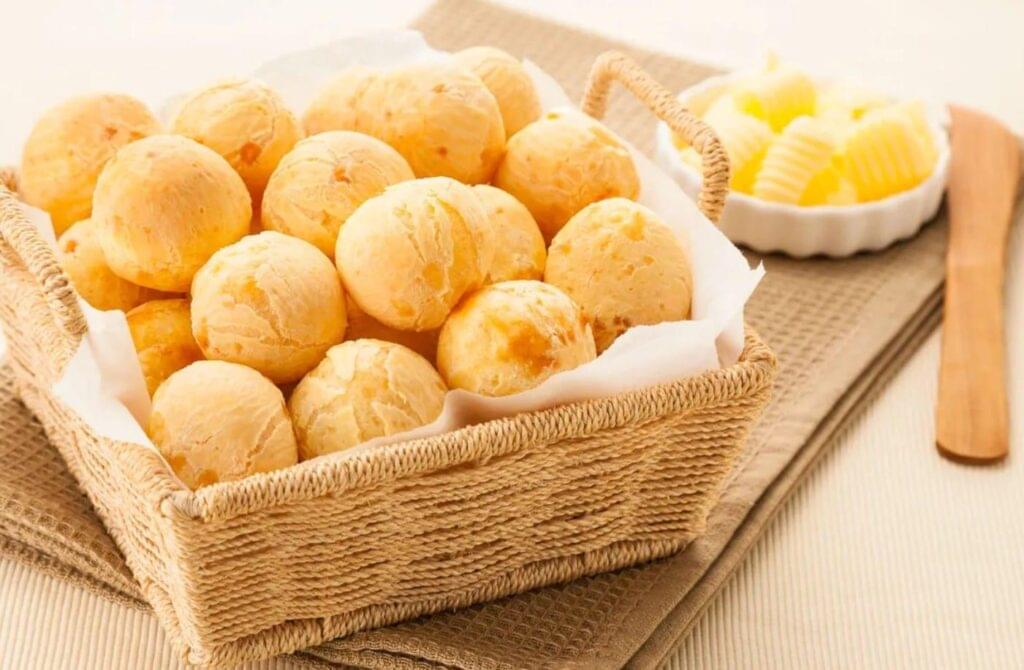
The Ultimate Guide to Pão de Queijo: Brazil’s Cheesy Delight
Pao de Queijo, a Brazilian cheese bread, has become a global sensation. This beloved snack, known for its crispy exterior and soft, chewy interior, is more than just a treat; it’s a cultural icon. If you’re a foodie or simply curious about this Brazilian staple, keep reading to discover why Pao de Queijo deserves a spot on your must-try list!
What is Pão de Queijo?
Pão de Queijo, which means “cheese bread” in Portuguese, is a small, round cheese-flavored bread roll made from tapioca flour, cheese, eggs, and milk. Unlike traditional bread, it’s naturally gluten-free, making it a popular choice for those with gluten sensitivities. The bread is often enjoyed warm, highlighting its unique texture and flavor profile.
The Origins of Pão de Queijo
The history of Pão de Queijo dates back to the 18th century in the Minas Gerais region of Brazil. The recipe was developed by enslaved Africans who, working with the limited ingredients available, combined starch from the cassava root with cheese, creating a delicious and filling bread alternative. Over the centuries, the recipe evolved, and today it is enjoyed in various forms across Brazil and around the world.
Why is Pão de Queijo So Popular?
Several factors contribute to the widespread popularity of Pão de Queijo:
- Versatility: It can be enjoyed at any time of day, whether as a snack, a side dish, or a breakfast treat.
- Gluten-Free Appeal: The use of tapioca flour makes it a great option for those avoiding gluten, without sacrificing taste.
- Cultural Significance: For many Brazilians, Pao de Queijo is more than just food; it’s a comforting reminder of home and tradition.
How to Enjoy Pão de Queijo
Pão de Queijo is incredibly versatile and can be enjoyed in many ways:
- Plain and Fresh: Enjoy it straight out of the oven when it’s warm and aromatic.
- Paired with Coffee: A classic Brazilian pairing is to enjoy Pao de Queijo with a cup of strong coffee.
- With Sweet or Savory Fillings: Some variations include fillings such as ham, cheese, or even chocolate for a sweet twist.
Where to Buy Pão de Queijo
If you’re eager to try Pão de Queijo without making it from scratch, many grocery stores and specialty shops offer ready-to-bake options. You can also find it in Brazilian bakeries or cafes, and many online retailers ship frozen Pão de Queijo worldwide. This makes it easier than ever to enjoy this Brazilian treat no matter where you are.
Pão de Queijo is more than just a snack; it’s a taste of Brazilian culture and a versatile addition to any meal. With its unique combination of flavors and textures, it’s no wonder this cheesy bread has captured the hearts of so many around the globe. Whether you’re a longtime fan or a curious newcomer, Pão de Queijo is sure to delight. Why not experience this Brazilian classic for yourself?
Discover Traditional Brazilian Recipes Discover Traditional South American Recipes You may like this also: Kenyan Mahamri
Brazilian Pao de Queijo
Ingredients
Instructions
Preheat the Oven:
-
Preheat your oven to 190°C (375F).
Heat the Liquid Ingredients:
-
In a medium saucepan, combine the milk, water, vegetable oil, and salt. Heat the mixture over medium heat until it comes to a boil.
Mix with Tapioca Flour:
-
Remove the saucepan from the heat and add the tapioca flour. Stir well until you get a thick, sticky dough. Let it cool for a few minutes.
Add Cheese and Eggs:
-
Add the grated Parmesan cheese to the dough and mix well. Then, add the beaten eggs one at a time, mixing thoroughly after each addition until the dough is smooth.
Shape the Dough:
-
Using a spoon or your hands, shape the dough into small balls (about the size of a golf ball) and place them on a baking sheet lined with parchment paper.
Bake:
-
Bake in the preheated oven for 15-20 minutes, or until the cheese breads are golden brown and puffed.
-
Your homemade Pao de Queijo is ready. Bom apetite!
Note
- If the dough is too sticky to handle, lightly oil your hands to shape the balls.
- For variation, you can mix in other cheeses like mozzarella or cheddar for a different flavor profile.
- To freeze, place the unbaked dough balls on a baking sheet and freeze until solid. Transfer to a freezer bag. When ready to bake, bake straight from frozen, adding a few extra minutes to the baking time.


